
Why Replacing A Laptop Battery Yourself Can Go Badly Wrong
It looks straightforward on YouTube, but I've seen enough botched DIY battery swaps to know the job carries risks most tutorials don't mention.
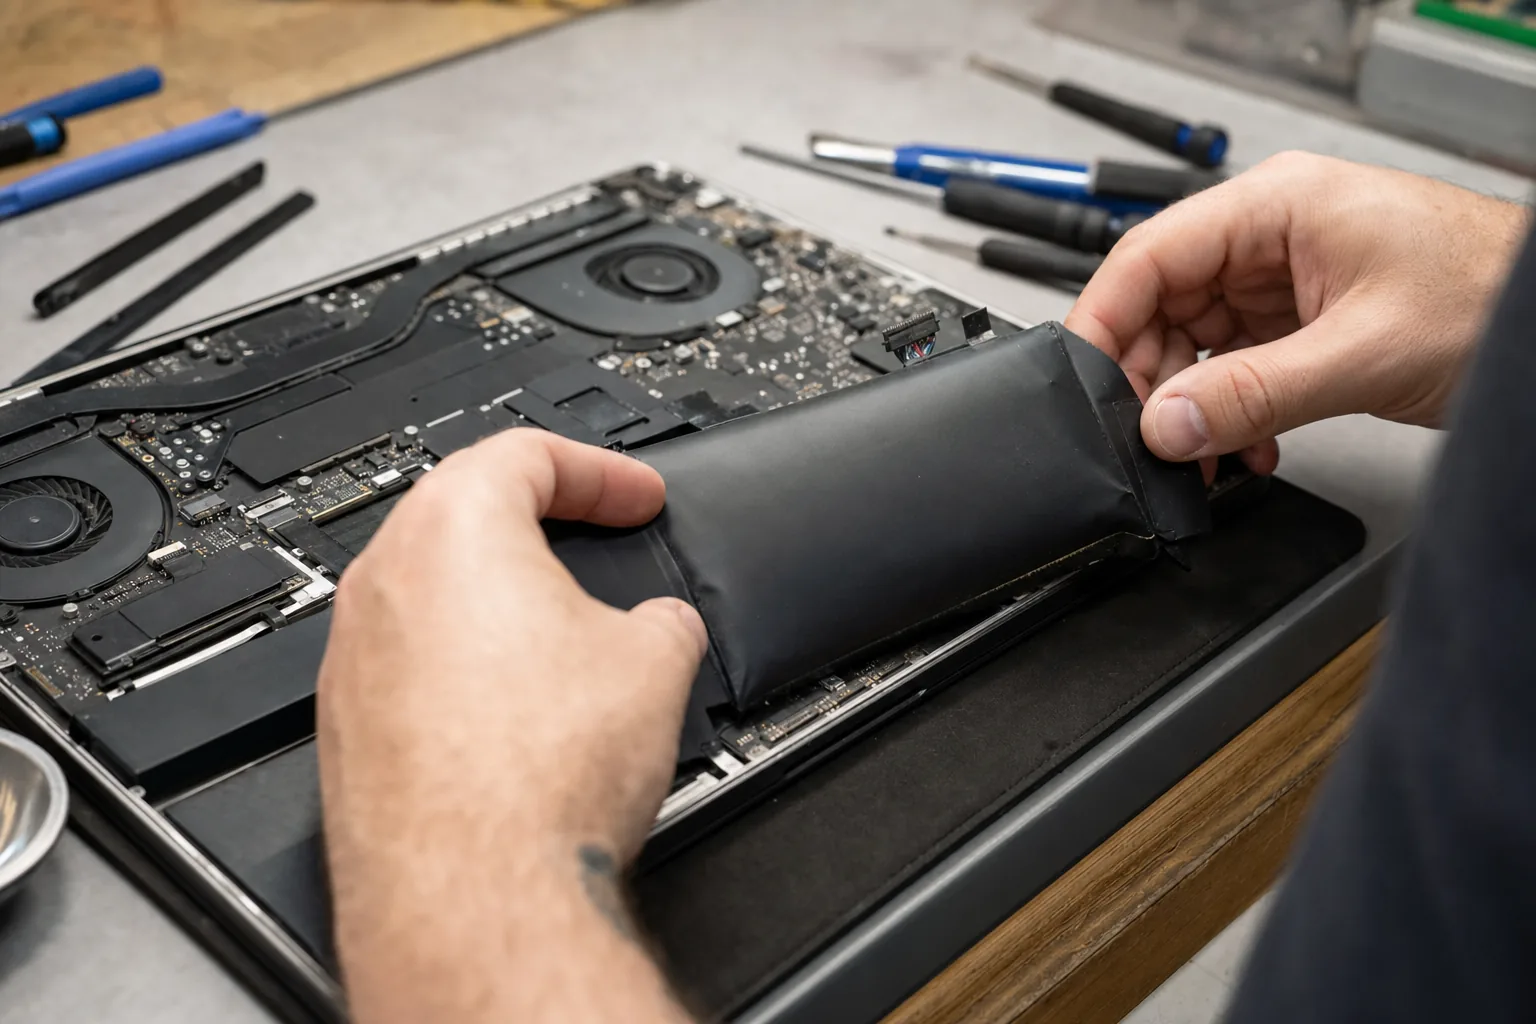

A customer brought a laptop in last month that she'd already tried to fix herself. She'd watched a video, ordered a replacement battery, and got about halfway through the job before something made a soft cracking sound. When I looked inside, the old battery — which had been visibly swollen — had punctured against a pry tool. The laptop was fine, mercifully, but she'd had to do the rest of the job outside with the windows open. It could have been considerably worse.
Battery replacement is one of those jobs that sits right on the boundary between sensible DIY and genuinely risky territory. I'm not trying to scare anyone out of having a go, but after more than twenty years on the repair bench I've seen enough go wrong to think it's worth being honest about what can actually happen.
The battery itself is the first hazard
Most people bring a laptop in for a new battery precisely because the old one has failed. And a lithium-ion cell that's failed often hasn't just gone flat — it's swollen. When a battery puffs up, the chemistry inside has already broken down, and the cell is under real internal pressure. Poking it with a metal screwdriver or forcing a pry tool underneath it isn't safe.
- Look before you start. If the laptop lid is slightly warped, the trackpad feels raised, or the base of the machine rocks on a flat surface, there's a swollen battery inside. That changes the job entirely.
- Never puncture a swollen cell. If the casing is already distorted, get the machine to someone with the right experience. The energy released from a punctured lithium cell isn't something you want in your kitchen.
The other things that go wrong
Assuming the old battery is physically intact, there are still a few ways the job can turn costly. Modern laptops — particularly thin ultrabooks — are increasingly glued together rather than screwed. Getting the base off without cracking it takes heat, patience, and the right plastic tools. I've seen people snap flex cables for the keyboard or trackpad because they rushed that stage. Those cables are fragile and, on some machines, surprisingly expensive to replace.
- Check the disassembly difficulty first. iFixit rates repairability by model. If your laptop scores a three out of ten, that's a warning, not a challenge.
- Use plastic pry tools, not metal ones. A metal screwdriver near the motherboard can short something out in an instant.
- Disconnect the old battery before touching anything else. This is the step tutorials sometimes gloss over. Power still flows from the battery even with the machine switched off.
- Watch out for counterfeit cells. Cheap batteries on certain marketplaces frequently arrive with no proper protection circuitry. A battery without overcharge protection can, over time, swell or worse.
When DIY is actually fine
I don't want to make this sound impossible. On older ThinkPads, some Dell Latitudes, and plenty of other business-grade machines, the battery clicks in and out in under two minutes. Those are genuinely good DIY candidates. The variable is the specific model, not batteries in general. Look yours up before you buy anything, and read more than one guide.
If the repair involves a heat gun, adhesive remover, and more than eight screws of three different sizes — or if the battery is already swollen — bring it in. The cost of a professional swap is almost always less than replacing a cracked chassis or a shorted motherboard.
The Repair Bench verdict
Before you start: check whether your battery is swollen (raised trackpad, rocking base, warped lid) — if it is, don't attempt this yourself.
Safe to DIY: older business laptops with clip-in or straightforward screw-access batteries and a high iFixit repairability score.
Worth paying a pro for: any glued ultrabook, any visibly swollen battery, or any machine where a flex cable sits directly over the battery.