
How to Set Up a Second Router as an Access Point
Got a spare router gathering dust in a drawer? Here's how to turn it into a proper access point and kill your Wi-Fi dead spots for good — no extender required.
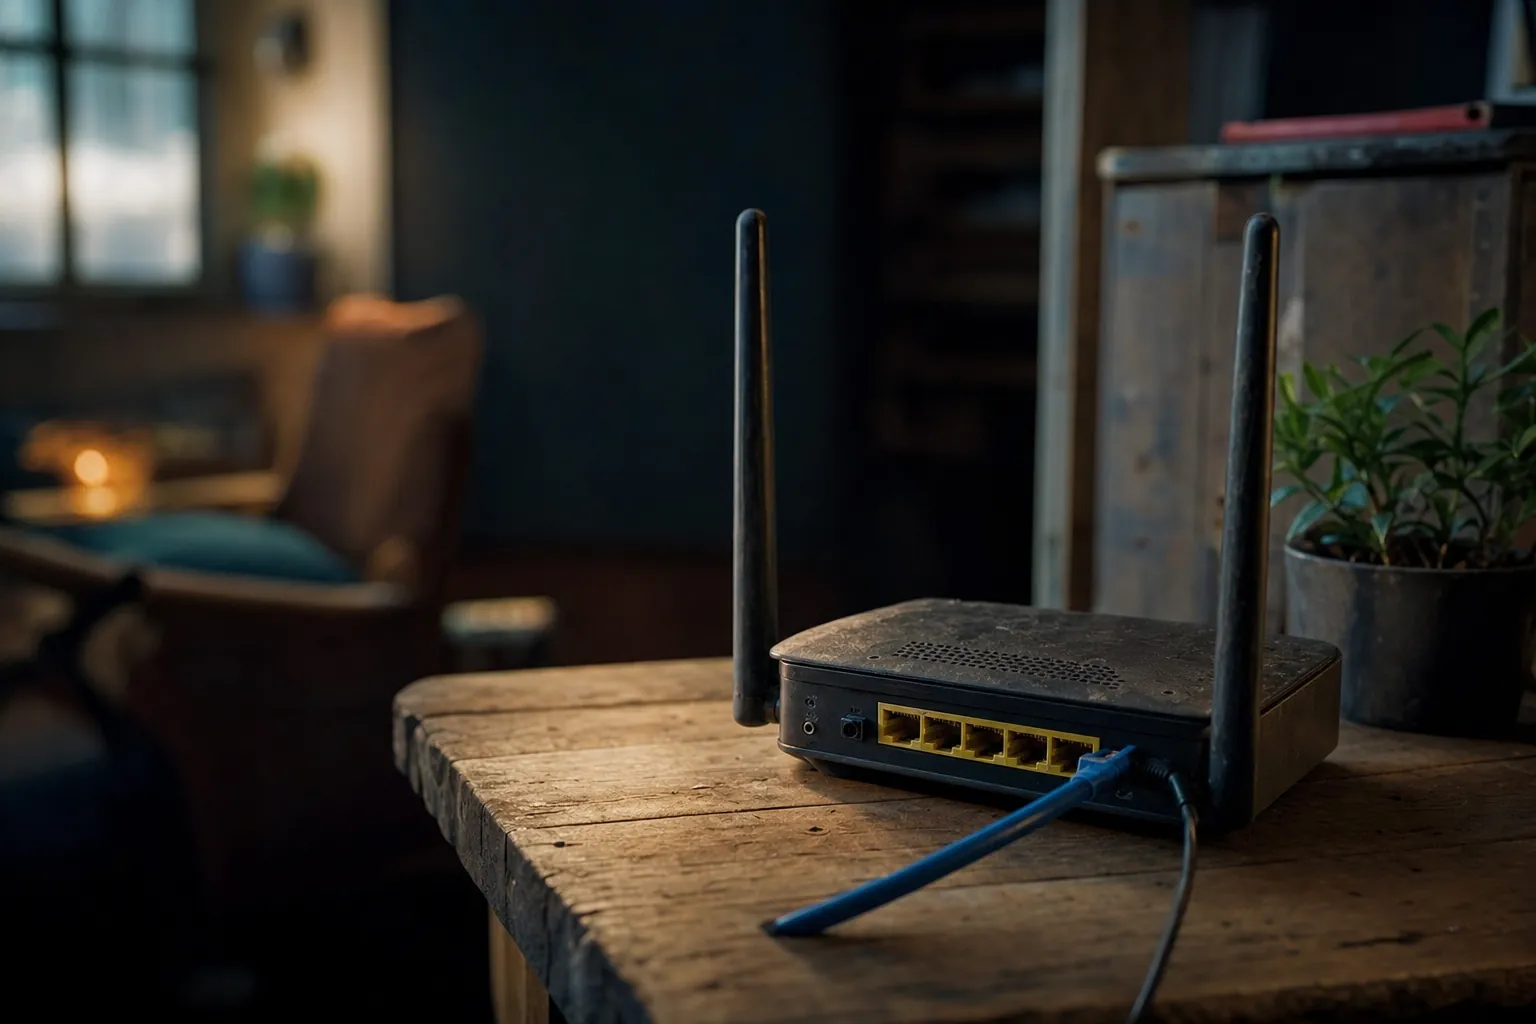
A spare router mounted near a wired point can do everything a dedicated access point does — for free.
If your Wi-Fi fades to nothing in the back bedroom or the far end of the garden office, your instinct might be to nip out and buy a range extender. Hold that thought. If you've got an older router sitting in a drawer — the one your ISP sent before the latest upgrade, perhaps — you can repurpose it as a proper access point and get a far better result than most plug-in extenders will ever manage. In this guide I'll walk you through exactly how, from the cabling to the config screens, in the same order I'd do it myself.
What "Access Point Mode" Actually Means
Before we start unplugging things, it's worth being clear about what we're doing, because it's easy to muddle up the terminology. A router does two big jobs at once: it routes traffic between your home network and the internet (handing out IP addresses, running a firewall, managing your broadband connection), and it broadcasts Wi-Fi so your devices can connect wirelessly. An access point only does the second of those two jobs.
When you convert a spare router into an access point, you're effectively switching off the "routing" brain and leaving just the Wi-Fi radio and the network switch running. Your main router stays firmly in charge of the whole network — it keeps handing out addresses, keeps managing the connection to your ISP — and the second box simply becomes another place from which Wi-Fi radiates. Almost every router made in the last decade or so supports this, either through a dedicated "AP mode" toggle in its settings or by manually reconfiguring a few fields, which is the method I'll cover here because it works on absolutely everything.
The two routers do not need to be the same make or model. You will, however, need to be comfortable poking around in each router's settings, and be aware that every manufacturer's firmware lays things out slightly differently. The principles below are universal even when the menu labels aren't.
What You'll Need Before You Start
This is a genuinely cheap project — in most cases it costs nothing at all beyond a cable you may already own. Here's the shopping (or rummaging) list.
The single most important item is the Ethernet cable. The whole reason this approach beats a wireless extender is that you're going to feed the access point with a wired connection — what networking folk call a wired backhaul. A cheap extender has to receive your Wi-Fi and rebroadcast it, which typically halves your throughput because the radio is talking and listening on the same band. A wired access point suffers none of that penalty: it gets a clean, full-speed connection over the cable and puts every bit of its radio budget into serving your devices.
Cable length and routing
Measure the run from your main router to where the access point will live before you buy anything. Cat5e is fine for gigabit speeds over any household distance you're likely to need. If you can't run a cable through a wall or under the floor, consider a pair of powerline (HomePlug) adapters as a middle-ground — not quite as fast as pure Ethernet, but streets ahead of a wireless-only extender.
The Cabling: Get This Bit Right
This is the step people most often get wrong, so I'll be emphatic about it. On most routers you'll see a single, often differently-coloured port labelled WAN or Internet, plus a bank of (usually four) LAN ports. When a router is doing its normal job, the WAN port is where the broadband comes in and the LAN ports are where your devices plug out.
When you're building an access point, you ignore the WAN port entirely on the spare router. Instead, you run your Ethernet cable from one of the LAN ports on your main router to one of the LAN ports on your spare router. LAN-to-LAN. This connects the two routers' internal switches together so they're on the same network, exactly as if they were two switches daisy-chained in an office.
LAN port to LAN port — leave the WAN/Internet socket on the spare router empty.
If you plug into the WAN port on the spare router while it is still in normal router mode, you will usually create a second, separate network sitting behind your first one (a setup called "double NAT"). Avoid the WAN port unless your router's own access-point-mode instructions specifically tell you to use it — some AP modes repurpose that port deliberately, which causes a cascade of niggling problems: devices on one router can't see devices on the other, some games and video calls misbehave, and you'll spend an evening wondering why. Plug LAN-to-LAN and none of that happens.
Do the physical cabling after you've configured the spare router (covered below), or at least be ready to configure it quickly. Two devices trying to hand out addresses on the same network at once can cause temporary chaos, so we disable that on the spare router before it ever joins the main network.
Step-by-Step: Configuring the Spare Router
Here's the heart of the job. Do these steps before connecting the spare router to your main network — ideally with the spare router connected directly to your computer by a single Ethernet cable, and nothing else plugged in. That way you've got a clean, isolated environment to work in.
Step 1 — Log into the spare router on its own
Power up the spare router with nothing connected except a cable to your laptop. Open a browser and type its admin address — commonly something like 192.168.0.1 or 192.168.1.1, printed on a sticker underneath. Log in with the admin credentials (again, usually on the sticker if you've never changed them). If it's been in a drawer for years and you can't remember the password, do a factory reset first with the recessed reset button, then log in with the defaults.
Step 2 — Note your main router's settings
Before you change anything, jot down three things from your main router: its own IP address (say 192.168.1.1), its subnet mask (almost always 255.255.255.0), and the range of addresses its DHCP server hands out (for example 192.168.1.2 to 192.168.1.200). You'll need these in a moment to slot the access point in cleanly.
Step 3 — Disable the DHCP server on the spare router
This is the crucial one. DHCP is the service that automatically hands IP addresses to devices as they join. Your main router must be the only device doing this. Find the DHCP or LAN settings on the spare router and switch the DHCP server off. Save. From now on, the spare router will let your main router assign all addresses, and the two will never fight over it.
Step 4 — Set a static IP for the access point
Give the spare router a fixed address on the same subnet as your main router, but outside the DHCP range you noted in Step 2. So if your main router is 192.168.1.1 and its DHCP pool starts at 192.168.1.2, you might set the access point to 192.168.1.250. Using an address above the DHCP pool means nothing else will ever be given the same one, so you avoid IP conflicts. Keep the subnet mask identical (255.255.255.0). This static address is also how you'll log into the access point in future to change its settings.
Step 5 — Match (or deliberately name) the Wi-Fi
You've got a choice here. If you set the same network name (SSID) and password on the access point as on your main router — and, importantly, use the same security type (WPA2 or WPA3) — your devices can reconnect to either access point, but each client decides when to roam and the handoff may not be seamless. This is what most people want. Alternatively, give the access point a slightly different name (like "Home-Office") if you'd rather manually choose which box you connect to. I'll dig into the trade-offs shortly.
Step 6 — Turn off extra features you don't need
Since this box is no longer routing, features like its own firewall, UPnP, port forwarding and any "internet connection" or PPPoE settings are irrelevant and best left alone or disabled. You don't have to hunt every one of them down, but if AP mode is a formal toggle in your firmware, flipping it will usually tidy these away for you automatically.
Step 7 — Save, reboot, and cable it up
Save all your changes and reboot the spare router. Now — and only now — run your Ethernet cable LAN-to-LAN as described earlier, and place the router where you need it. Connect a phone to its Wi-Fi and check you've got internet. Job done.
Pro Tip: write the static IP on the router
Stick a small label on the access point with the static IP you assigned it (e.g. "AP – 192.168.1.250"). In six months when you want to change the Wi-Fi password, you'll thank yourself for not having to run a network scan to find the thing.
The Settings That Actually Matter, Summarised
If you skim-read the above and want a single checklist to keep by your side while you work, here it is. These four are the difference between a clean setup and an evening of troubleshooting.
Cable LAN-to-LAN
Main router LAN port to spare router LAN port. The spare router's WAN/Internet port stays empty.
DHCP server disabled on the AP
Only your main router should hand out IP addresses. This prevents the two boxes clashing.
Static IP in-subnet, out-of-pool
Same subnet as the main router, but a fixed address above its DHCP range so nothing conflicts.
Matching security
Use the same WPA2/WPA3 setting as your main router for consistent security; roaming still remains client-dependent.
Access Point vs Extender vs Mesh
The whole argument for this project is that it's better than the alternatives, so let's put that to the test honestly. There are three common ways to fix a Wi-Fi dead zone, and each suits a different situation.
A wired access point avoids the throughput penalty that dogs most wireless extenders.
| Feature | Second Router as AP | Wireless Extender | Mesh System |
|---|---|---|---|
| Typical cost | Free (reuses spare kit) | Low | Higher |
| Backhaul | Wired (full speed) | Wireless (often halved) | Wired or wireless |
| Single network name | Yes (if configured) | Sometimes | Yes |
| Roaming | Client-dependent with matched SSID | Often clunky | Usually smoother |
| Setup effort | Moderate (config needed) | Low | Low |
| Needs a cable run | Yes, for best results | No | Optional |
| Central management | Under one router | Separate device | App-managed |
The honest summary: if you can run a cable, a repurposed router used as a wired access point will beat a cheap extender comfortably and often matches an entry-level mesh node for the far better price of nothing. Mesh systems win on slickness — the roaming is genuinely superb and setup is a five-minute app job — but you're paying for that convenience, and if the mesh satellites end up connecting wirelessly they inherit some of the same backhaul penalty that hampers extenders.
Pros of the AP approach
- Reuses hardware you already own — genuinely free in most cases
- Wired backhaul means no throughput penalty
- Everything stays under one network and one management umbrella
- Consistent security across the whole home when settings are matched
- Eliminates dead spots more reliably than a plug-in extender
Cons and caveats
- Requires a wired connection for the best results
- Configuration is fiddlier than plugging in an extender
- Firmware differs between brands, so menu labels vary
- Roaming isn't quite as seamless as a true mesh system
- An older spare router may lack the latest Wi-Fi standards
What Kind of Improvement to Expect
Numbers here depend entirely on the hardware you're using — an old 802.11n router will never deliver Wi-Fi 6 speeds no matter how you configure it — but the relative gains from moving to a wired access point over a wireless extender are consistent and worth illustrating. The bars below represent typical usable throughput in a dead zone, expressed as a proportion of what you'd get standing next to your main router.
The takeaway isn't the exact percentages — those will shift with your walls, your hardware and your neighbours' Wi-Fi — it's the shape. A wired access point delivers close to full speed even in a spot your main router couldn't reach, whereas a wireless extender, forced to rebroadcast over the air, typically hands you roughly half. That gap is why this project is worth an evening of your time rather than a quick trip to the shops for an extender.
Placement still matters
Even wired, an access point radiates Wi-Fi like any router, so give it some breathing room. Keep it off the floor, out of a cupboard, and away from big metal objects, microwaves and cordless phone bases. A high, central spot in the area you're trying to cover always beats a corner behind the telly.
Same Name or Different Name? The Roaming Question
I promised to come back to this, because it's the decision that shapes how the whole thing feels to use day to day.
Same SSID and password (the seamless option)
Set both boxes to broadcast an identical network name and password, with matching WPA2 or WPA3 security, and your phone or laptop sees them as one network. As you walk from the lounge to the office, your device will — in theory — drop the weakening signal and latch onto the stronger one automatically. This is the setup I use and recommend for most homes. The one wrinkle is that devices can be stubborn about letting go of a fading connection; they'll sometimes cling to the main router until the signal is genuinely dreadful before switching. It's rarely a dealbreaker, but it's why a proper mesh system, with its cleverer hand-off logic, still edges ahead on the smoothness of roaming.
Different SSID (the manual option)
Give the access point its own name — "Home-Upstairs", say — and you take manual control. Your devices won't jump between the two, so you choose which to connect to. This can be handy if you want to guarantee that a fixed device (a smart TV, a games console) always uses the nearest, strongest box. The downside is obvious: you'll be tapping between two networks manually as you move about, which gets old fast on a phone.
A neat middle ground
Some people keep the 2.4GHz and 5GHz bands on the same name for roaming convenience but give the whole access point setup a tiny separation trick: matched SSID everywhere for laptops and phones, but pin a couple of stubborn smart-home gadgets to whichever band they prefer via their own app. It's more effort than it's worth for most, but worth knowing the option exists.
Troubleshooting Common Problems
If something's not right after you cable everything up, it's almost always one of a handful of culprits. Work through these in order.
Connected to Wi-Fi but no internet
Nine times out of ten this is DHCP. Double-check the DHCP server is genuinely off on the access point, and that you cabled LAN-to-LAN, not into the WAN port.
Can't reach the AP's settings page
You'll be trying its old default address out of habit. Remember you changed it to a static IP — use that address instead (the one you hopefully labelled on the router).
Devices on the two boxes can't see each other
Classic double-NAT symptom. Check the cable isn't in the WAN port. Everything on one flat network needs LAN-to-LAN cabling.
Intermittent drop-outs or IP conflicts
The static IP you gave the AP is probably inside the main router's DHCP pool, so occasionally a device gets handed the same address. Move the AP's static IP above the pool.
Everything's a mess and you're lost
Factory-reset the spare router and start the config steps again from scratch. It's faster than untangling a half-finished configuration, and you can't break anything permanently.
If two channels of Wi-Fi in the same house start interfering with each other, log into each box and set them to non-overlapping channels manually — on 2.4GHz, channels 1, 6 and 11 don't overlap, so put your main router on one and the access point on another.
Frequently Asked Questions
Who Should Take This Route
The thrifty upgrader
You've got a spare router and no desire to spend money. This is the obvious, free fix for a dead zone.
The hands-on tinkerer
You don't mind poking around a settings page for twenty minutes and rather enjoy getting it working properly.
The wired household
You can run an Ethernet cable (or already have wall points), so you'll reap the full-speed backhaul benefit.
Who should skip it
If you want a five-minute, app-driven install and hate config screens, a mesh system will suit you far better.
The right home for this project: a spare router, a cable run, and a bit of patience with the settings.
The Verdict
Reusing a spare router as a wired access point is one of the most satisfying, cost-free upgrades you can make to a home network. Get the three fundamentals right — cable LAN-to-LAN, disable DHCP on the second box, and give it a static IP outside the main router's pool — and you'll transform a dead zone into a full-strength patch of Wi-Fi that hands most extenders a comprehensive drubbing on speed.
It asks a little more of you than plugging in an extender, and it won't quite match the effortless roaming of a premium mesh kit. But for the price of an Ethernet cable and an evening's fiddling, you keep your whole network under one management umbrella, with consistent security throughout, and you give an old piece of kit a genuinely useful second life. That's a win on almost every front.
This guide is all about reusing a router you already own as an access point — for most people there's no need to buy anything at all. But if your old router is showing its age (no Wi-Fi 6, dropping connections, or simply too slow), a modern budget router makes a faster, more reliable access point. Two current TP-Link models we’d happily recommend:
TP-Link Archer AX55 — AX3000 Wi-Fi 6 with a built-in Access Point mode. The value pick (around £70).
TP-Link Archer AX73 — a faster AX5400 Wi-Fi 6 model with more range for larger homes (around £90).
As an Amazon Associate we earn from qualifying purchases.
One network, one set of security settings, no dead spots — and no new hardware in the bin-bound pile.
If you've followed along and got it working, the last thing I'd suggest is a quick walk around the house with a Wi-Fi analyser app on your phone. Watching the signal stay strong in that back bedroom where it used to collapse is oddly gratifying — and it confirms you did the job properly rather than just moving the problem around. Enjoy the coverage.