
How to Improve Your Webcam Image Without Buying a New One
Sharper, more flattering video calls are almost always a matter of light, positioning and a few buried software settings — not the camera you already own. Here's exactly how to fix it.
We link to the exact model on Amazon UK. Prices change often, so check the live price before you buy. As an Amazon Associate we earn from qualifying purchases.
See Elgato Ring Light on Amazon UK
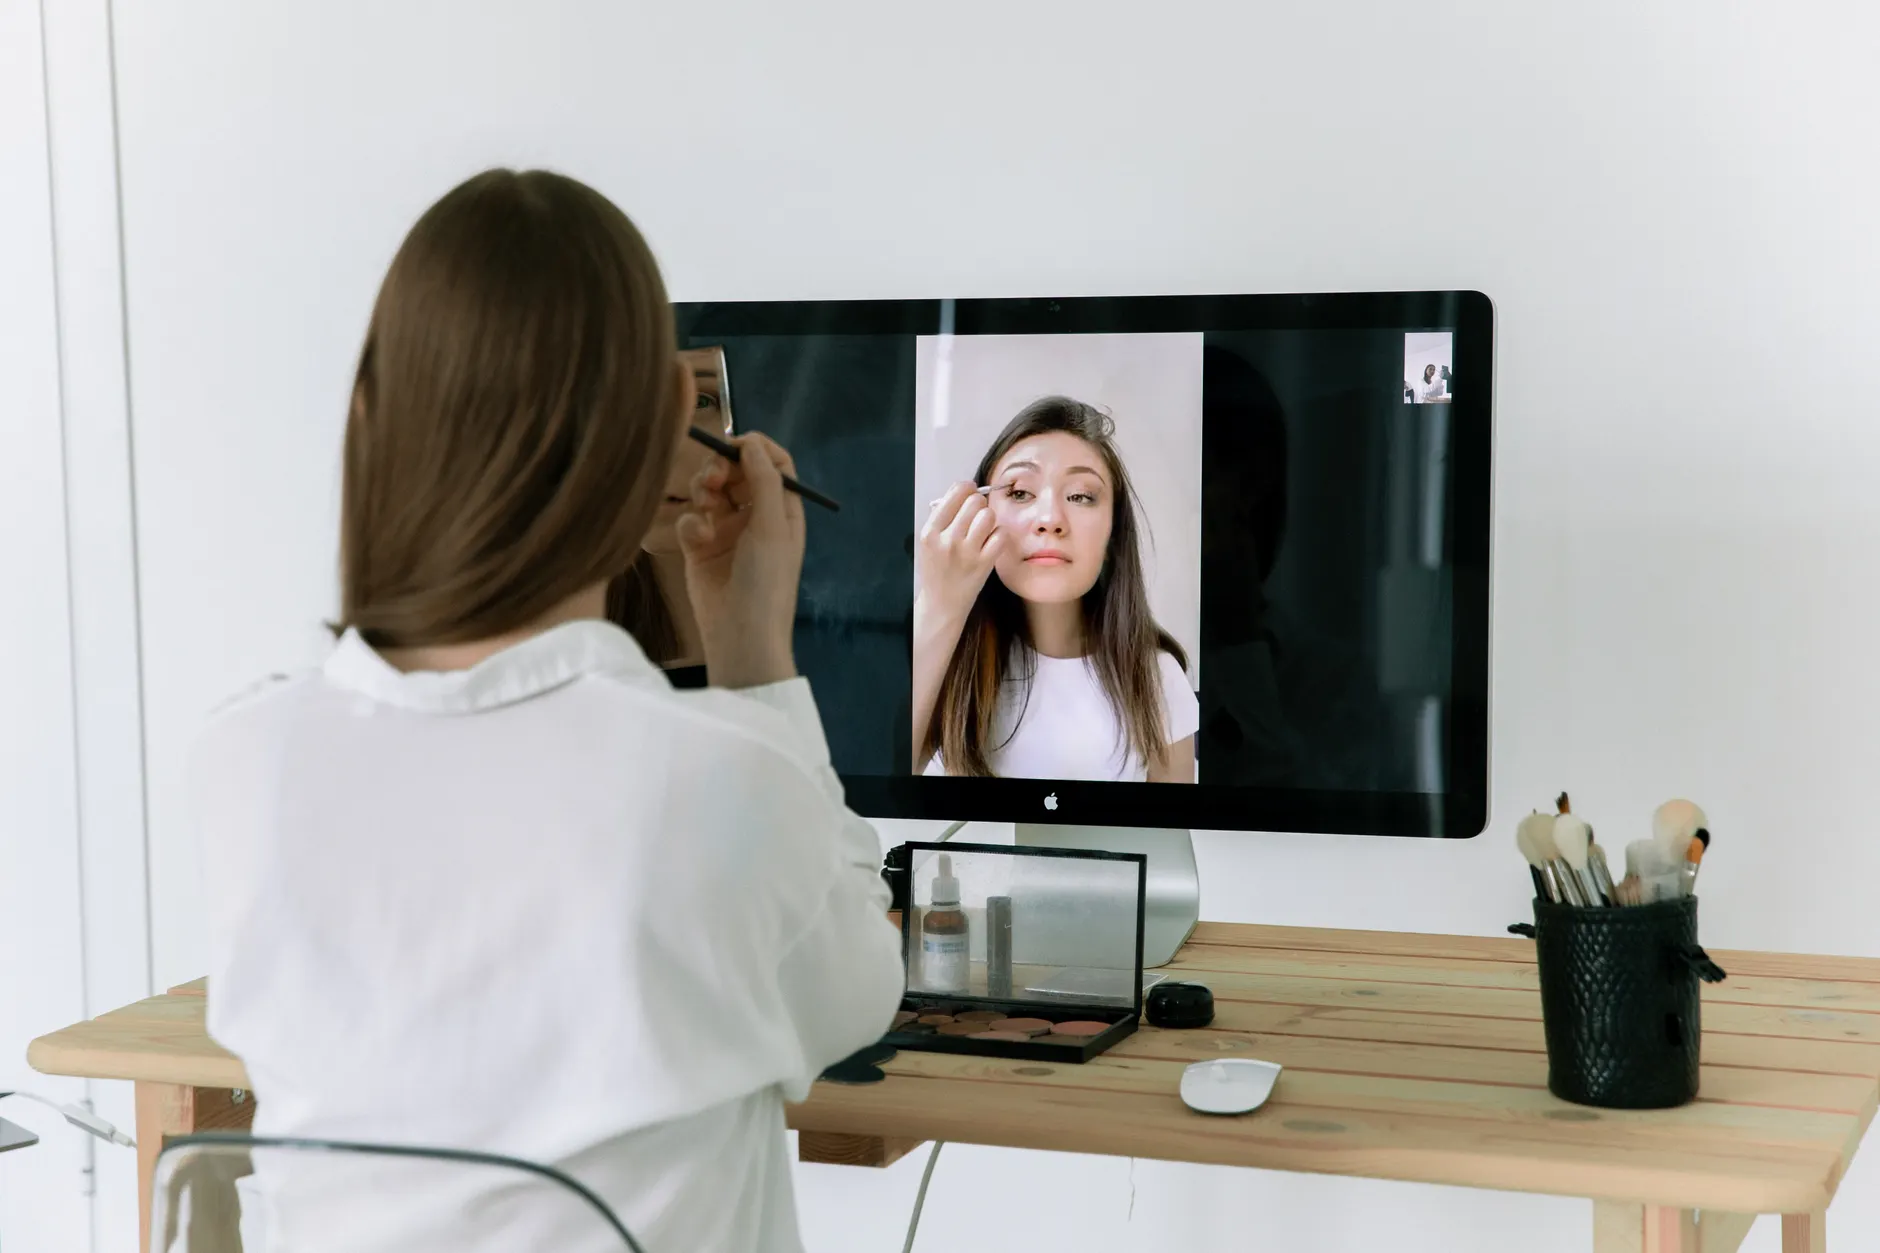
Most "bad webcam" problems come down to environment and settings, not hardware.
The Quick Diagnosis: What's Actually Wrong
Before you start fiddling, it helps to know where the biggest wins hide. There's a rough hierarchy of impact here, and understanding it stops you wasting an afternoon on the wrong thing — which, honestly, is exactly what one author did before discovering the real problem was a fingerprint smudge on the lens. Don't be that person.
The single most influential factor in how good your webcam looks is lighting. It's not close. Lighting matters more than sensor quality on almost any webcam — we have seen figures like “80% of image quality” quoted, but that is a rule of thumb rather than a measured result. There's a line that stuck with me — "A $17 webcam in good lighting looks better than a $100 webcam in bad lighting." Once you've internalised that, everything else becomes secondary polish. But polish matters too, so we'll cover the lot.

A rough priority order: light first, then lens, then positioning, then software.
Start Here
If you do nothing else today, turn to face your brightest window and give the lens a wipe. Those two moves alone will transform most calls before you've touched a single setting.
Fix Your Lighting First (It's 80% of the Battle)
Right, this is the big one. Every guide I've read agrees: lighting is the most important factor in webcam image quality, full stop. And the good news is that the most effective lighting improvement costs absolutely nothing.
The One Rule That Matters Most
Your light source must be in front of your face, never behind you. This is the mistake I see constantly — people sit with a window or a bright lamp behind them and wonder why they look like they're in witness protection. When there's a bright light behind you, the camera is forced into an impossible choice. It can either expose for the bright background, which leaves your face dark and shadowed, or it can expose for you, which blows out the background into an overexposed white haze. Either way, you lose.
The fix is embarrassingly simple: turn around. Face the window or the light source directly. Facing a window head-on is the single simplest free solution to bad webcam lighting, and it works instantly.
Natural Daylight
Sunlight is superior to most artificial lighting for webcams. It provides bright, even illumination that fills the background as well as your face. It's free, and it's recommended even for people who already own studio lights.
The Daylight Catch
The sun's colour temperature and brightness shift throughout the day, so if you record multiple sessions, your footage won't match. For live calls that's fine; for recorded content you may want consistency.
A Simple Desk Lamp
Even a basic desk lamp pointed at your face — not behind you — improves results dramatically over no dedicated lighting at all. It's a perfectly valid starting point.
Soft, Diffused Light
Soft light is preferred because it diffuses evenly and avoids harsh shadows or hot spots on your face. A lamp bounced off a wall or fired through a thin curtain looks far better than a bare bulb.
The Night-Time Trap
Here's a subtle one that catches people out after dark. If you only add a bright light in front of your face at night, you'll appear to glow — a floating illuminated head against a black void. The fix is to add a secondary background light to even out the shot. It stops your face from appearing disproportionately lit, and crucially, that background light does not need to be bright or expensive. A small lamp on a shelf behind you doing gentle fill work is enough.
You don't need matching kit. One decent front light plus any dim lamp behind you will beat a single harsh light every single time, especially in the evening.
Clean the Lens (The 10-Second Fix Everyone Forgets)
This is the one that genuinely makes people groan when they realise. Cleaning the lens is described as the most common and most overlooked cause of a poor image. Dust, fingerprints and skin oils quietly accumulate on both external webcams and built-in laptop cameras, and because the buildup is gradual, you never notice your image slowly softening into a smeary mess.
A thorough cleaning alone can visibly sharpen a soft, hazy image. That's a staggering return for something that takes about ten seconds. And remember that author I mentioned who spent an entire afternoon adjusting settings before discovering a fingerprint smudge was the actual problem? Learn from their pain and check this first.
How to Do It Properly
- Grab a microfibre cloth — the same type you'd use for your eyeglasses is ideal. Avoid abrasive tissues or your shirt sleeve, which can scratch coatings.
- Wipe gently in a circular motion across the lens. No pressure, no solvents needed for everyday grime.
- On a laptop, pay attention to the bezel gap around the lens, where dust loves to collect and cling.
- On an external webcam, if the lens is recessed, check both sides of the glass — front and, where accessible, the inner surface.
Pro Tip
Make lens-wiping a habit before any important call. It costs nothing, takes seconds, and it's the highest effort-to-reward ratio of anything in this guide.
Get the Camera to Eye Level
Now for physical positioning, which is where a laptop camera does most of its damage. A laptop sitting flat on a desk points its camera upward at your chin. This does two bad things at once. First, it's an unflattering angle — nobody looks their best shot from below. Second, and more technically, it throws off the camera's automatic exposure by capturing too much bright ceiling light, which tricks the sensor into darkening your face.
Raising the camera to eye level fixes both the flattering angle and the auto-exposure confusion.
The Fix
Raise your laptop or monitor so the lens sits at eye level. The recommended lift is roughly 6–8 inches for a typical desk setup. You don't need to buy anything for this — a laptop stand works beautifully, but so does a sturdy stack of books. I've used a shoebox and a couple of hardback novels for years without complaint.
More Even Facial Lighting
With the lens level, light distributes more evenly across your face rather than pooling under your chin.
Faster Autofocus Lock
A stable, well-composed eye-level shot gives the autofocus a clearer subject to lock onto, so it settles quickly instead of hunting.
A More Engaged Appearance
Looking straight into the camera rather than down at it makes you appear more attentive and present on calls — a genuine professional edge.
Tidy the Background (and Use Blur Wisely)
A cluttered background makes your video quality appear worse than it actually is, even when the image itself is perfectly sharp. Our brains conflate visual chaos with poor quality. A clean, simple backdrop instantly improves how professional you look, and it lets the viewer's eye settle on you rather than the pile of laundry over your shoulder.
If you can't physically tidy the space, Zoom, Microsoft Teams and Google Meet all offer built-in background blur. It's a genuinely helpful tool — but I'd be doing you a disservice if I oversold it. Background blur is a nice supplement, not a replacement for a physically clean space. Software blur can smear at the edges of your hair and hands, and it occasionally chews up part of your outline. Use it, by all means, but tidy up first where you can.
Quick background wins that cost nothing
Move a plant or a bookshelf into frame for a bit of tasteful depth, remove anything distracting or personal from the shot, and make sure the background isn't brighter than you are — that circles right back to the lighting rule from earlier.
Dive Into the Software Settings
This is where the free gains get properly nerdy — and properly satisfying. Two things live here: making sure the app is actually using your camera's full resolution, and taking manual control of the image instead of trusting the automatic settings.
Turn On Full Resolution
Here's a quiet scandal: many video call apps default to a lower resolution than your webcam actually supports. You've been broadcasting in a downscaled version of yourself this whole time. Fixing it is a matter of ticking the right box.
| App | Where to Look | What to Do |
|---|---|---|
| Zoom | Settings → Video → Camera | Tick the HD box |
| Microsoft Teams | Defaults to camera maximum | Check it isn't being limited by bandwidth settings |
| OBS Studio | Video Capture Device properties | Confirm resolution matches your webcam's maximum |
Take Manual Control
Automatic settings produce suboptimal results even in good lighting — the camera is guessing, and its guesses are conservative. Taking manual control is where you go from "fine" to "genuinely good." Here are the levers worth pulling:
Exposure
Controls how long the sensor is exposed to light. If your image looks washed out in a bright environment, reduce exposure slightly to rein in the blown-out highlights.
ISO / Gain
This is sensor sensitivity. Higher values brighten a dark image but introduce noise and grain. Keep it as low as your lighting allows — which is another reason to sort the lighting first.
White Balance
Sets the colour temperature. If your image looks too yellow (warm) or too blue (cool), adjust white balance manually until skin tones look natural.
Autofocus
This is the one setting I'd leave on automatic until you've built up some experience. Manual focus is fiddly and easy to get wrong; the auto version is usually fine once the camera is at eye level.
If turning gain up to brighten a dark room just gives you a grainy mess, that's your sensor telling you the real answer is more light — not more gain. Grain almost always means the camera is straining in the dark.
Companion Apps and OBS
The controls in your operating system are often limited. Manufacturer companion apps unlock proper manual adjustment. Two worth knowing about are Logitech Logi Tune and Razer Synapse, which give you access to brightness, contrast, saturation, sharpness and white balance well beyond the basic OS options.
For a free, more advanced route, OBS Studio is the go-to. It lets you apply filters and manual controls to your camera feed, including a Color Correction filter for dialling in white balance and exposure, and it can then feed that polished image into your calls as a virtual camera. It's more setup, but it's powerful and doesn't cost a thing.
Manual Settings — Upsides
- Corrects colour casts the auto mode won't fix
- Stops highlights blowing out in bright rooms
- Consistent image across every session
- Costs nothing with OBS or a free companion app
Manual Settings — Watch For
- Cranking gain too high adds noise and grain
- Manual focus is easy to get wrong at first
- Settings tuned for daylight won't suit night
- OBS has a genuine learning curve
Why Your Webcam Looks Grainy — and the Bandwidth Factor
If you've done all of the above and your image still looks grainy, there are usually two suspects left. The first is low light making the sensor work too hard, which we've covered — the answer there is always more light, not more gain. The second is bandwidth. Video call platforms constantly compress your feed to fit the available connection, and when your upload speed dips, that compression gets aggressive, smearing detail and dropping resolution on the fly.
This is why your image can look pin-sharp one minute and mushy the next despite nothing changing in your room. If a call looks poor, it's worth ruling out the network before blaming the camera.
Simple bandwidth checks
Close other apps that hog upload bandwidth, use a wired connection where you can, and remember that Teams in particular can quietly cap your video resolution when it senses the network is struggling. A stronger connection can bring your resolution straight back up.
If You Do Want to Spend a Little: Lights and Clamps
Everything so far has been free, and I'd genuinely encourage you to exhaust the free options before opening your wallet. But if you've done the lot and want to take the final step, a small amount of affordable kit makes an outsized difference. Because lighting is 80% of the battle, that's where a modest spend pays off most.
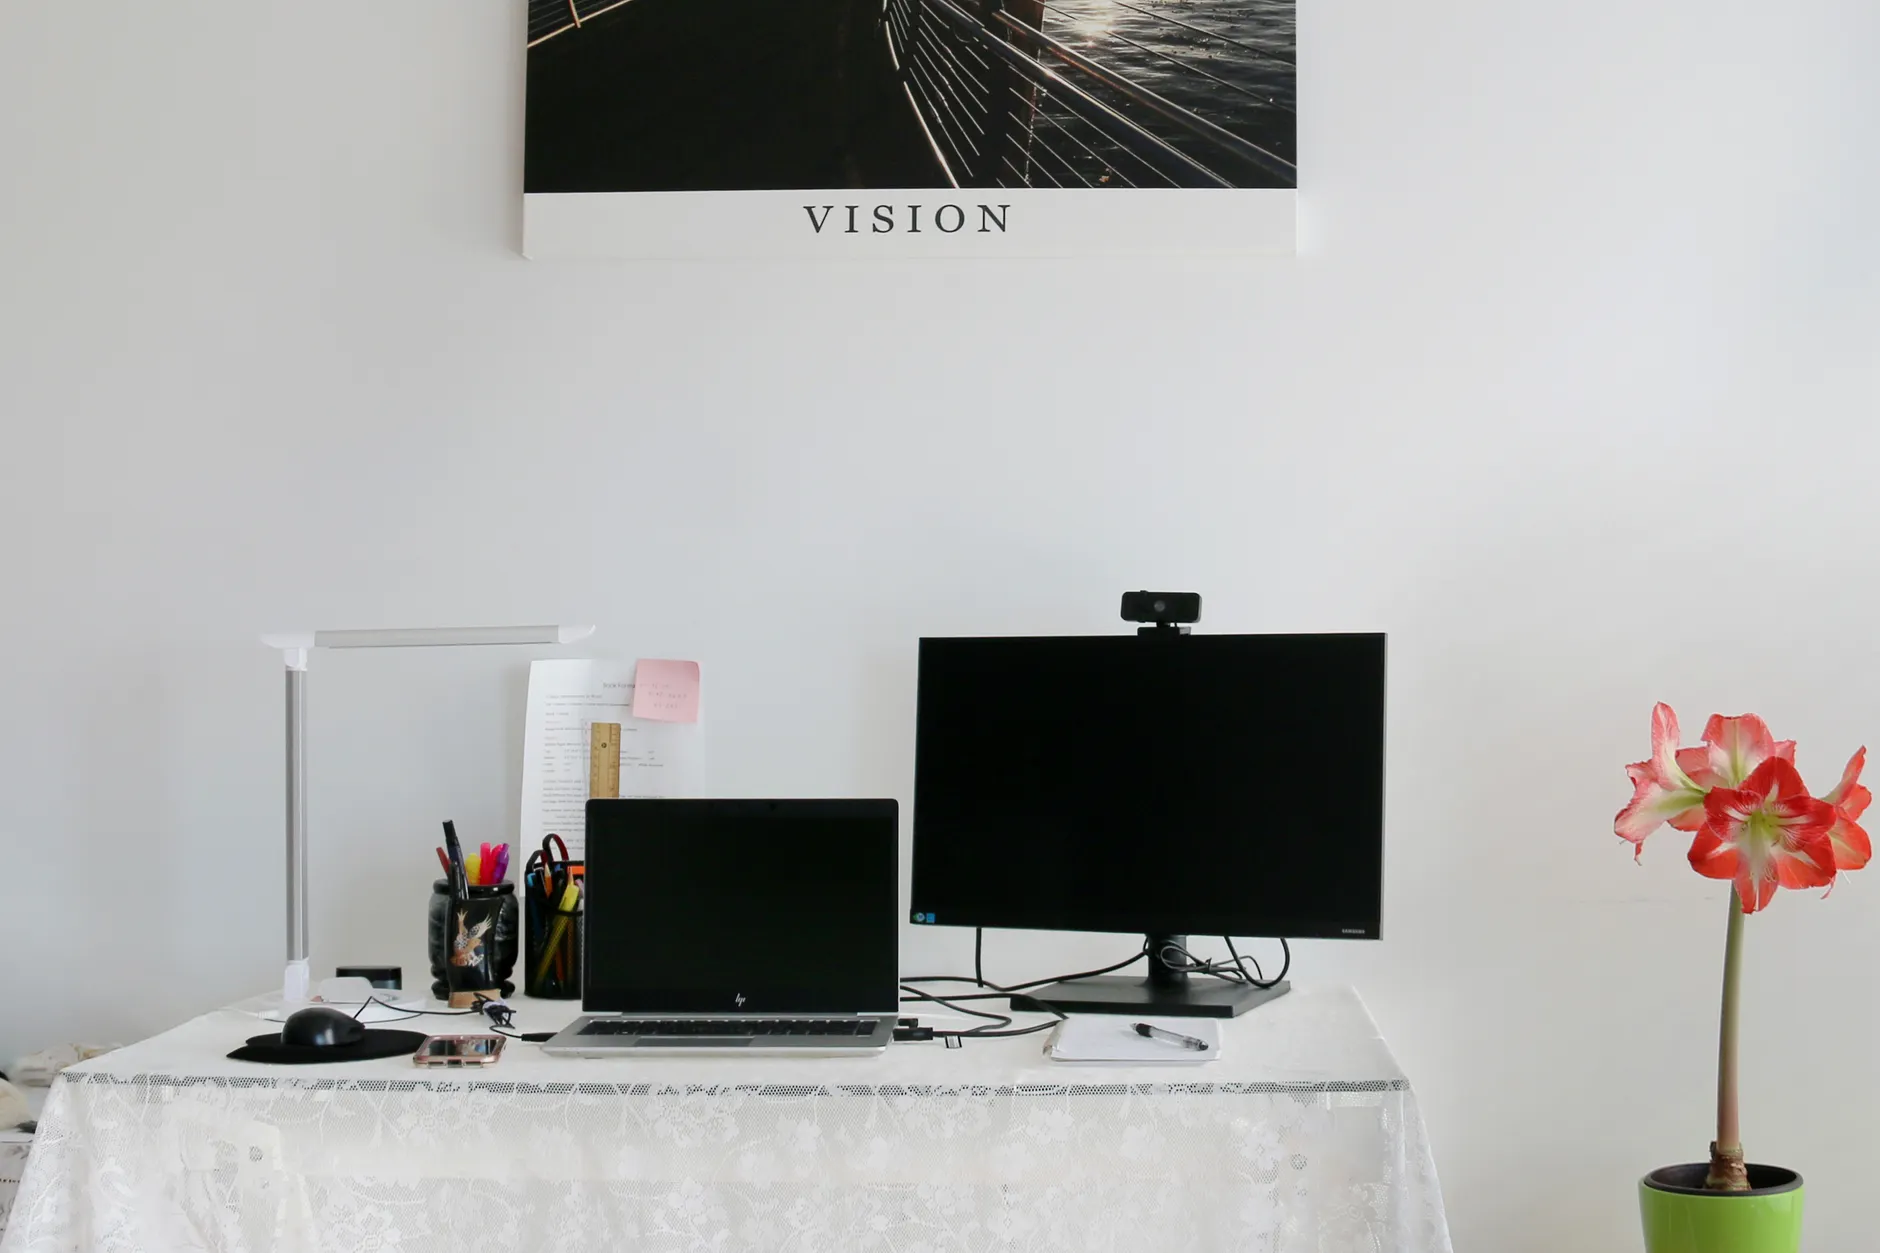
Affordable lighting is where a small spend delivers the biggest visible improvement.
Elgato Ring Light
See Elgato Ring Light on Amazon UK
Basic ring lights start at roughly £20–£30 and make a real difference. Note that the Elgato Ring Light is a premium product rather than a budget clip light, and Elgato now lists it as discontinued — check current availability, or use any well-reviewed ring light in that budget bracket. The Elgato Ring Light gives you soft, even, adjustable illumination pointed directly at your face — exactly the front-facing soft light we established as ideal. If you only buy one thing, a ring light is the highest-impact purchase for the money.
Check the latest price and any current bundles on Amazon.
Elgato Key Light Air

See Elgato Key Light Air on Amazon UK
Check today's price & availability on Amazon UK
If you want a step up, the Elgato Key Light Air is a panel-style light often run in a two-light configuration — one as a main light and one for fill — which gives you clean, controllable, shadow-free coverage. It's more of a proper studio approach and overkill for the average work call, but for content creators and streamers it's a popular, polished choice.
Check the latest price and any current bundles on Amazon.
Limostudio Umbrella Light Kit
For a more traditional photography-style setup, the Limostudio Umbrella Light Kit uses umbrella diffusers to produce soft, wraparound light. Umbrella kits are brilliant at eliminating harsh shadows and hot spots, and they're a familiar sight in home studios. They take up more space than a ring light, so they suit a dedicated corner rather than a cramped desk.
Check the latest price and any current bundles on Amazon.
Stands, Clamps and Risers
The other worthwhile spend is on getting your camera and lights positioned properly. A laptop stand or monitor riser to hit that 6–8 inch eye-level lift is money well spent if you'd rather not stack books forever, and a clamp mount lets you position a light or webcam exactly where you need it without cluttering the desk surface. These are cheap, dull, and genuinely improve every call you'll ever take.
Relative impact of each fix. Lighting dominates; the rest are meaningful polish.
The Order I'd Actually Do Everything In
Pulling it all together, here's the sequence I'd follow — cheapest and highest-impact first, so you get maximum improvement before you've spent anything.
Wipe the lens
Ten seconds, microfibre cloth, circular motion. Often the single biggest one-second improvement you can make. Do this first, always.
Fix your lighting
Face a window or put a lamp in front of you, never behind. Add a dim background light at night. This is 80% of the result and it's free.
Raise the camera to eye level
Stack of books or a stand, 6–8 inches. Better angle, better exposure, faster focus.
Tidy the background
Clear the clutter, add blur in Zoom, Teams or Meet as a supplement rather than a substitute.
Enable full resolution
Tick the HD box in Zoom, confirm Teams isn't bandwidth-throttled, and set OBS to your camera's maximum.
Go manual on exposure, gain and white balance
Use Logi Tune, Razer Synapse or OBS. Leave autofocus on for now.
Only then consider spending
A £20–£30 ring light is the highest-value purchase, followed by a stand or clamp.
How Much Difference Does All This Actually Make?
Here's my honest rating of what you can expect from the free-and-cheap approach versus simply buying a new camera. The headline is that you can get most of the way to "great" without new hardware — the diminishing returns on a pricier webcam are real, especially if your lighting is sorted.
Who Should Do What
Occasional Video Caller
Wipe the lens, face a window, and raise the laptop on some books. That's genuinely all most people need for a tidy, professional look on Zoom and Teams.
Daily Remote Worker
Do all the free fixes, enable HD, and consider a £20–£30 ring light plus a monitor riser. This gets you consistently sharp calls every day without fuss.
Streamer or Creator
Go the full distance: OBS with a Color Correction filter, a two-light Key Light Air setup or an umbrella kit, and manual exposure and white balance dialled in for consistency.
The Budget-Conscious
Everything except the lights is free. Exhaust the free list first — you'll be amazed how far £0 gets you before a single purchase.
Frequently Asked Questions
The finished result: sharp, well-lit, eye-level video — from the camera you already own.
The Verdict
The honest truth is that most people don't need a new webcam — they need better light, a clean lens, an eye-level angle and a couple of settings toggled on. Sort those four things and even a modest built-in camera looks genuinely good, because the environment and software account for the overwhelming majority of image quality. Remember the guiding principle: a cheap camera in good light beats an expensive one in bad light every time.
Do the free fixes first, in order — lens, lighting, positioning, background, resolution, then manual settings. If you still want more, a £20–£30 ring light like the Elgato Ring Light is the single highest-value upgrade you can make, followed by a stand or clamp to get everything positioned properly. Start with what you've got. You'll be surprised how far £0 takes you.
- Elgato Key Light AirView on Amazon